

This glowing tree was inspired by Petals to Picot Cone Christmas Tree pattern. Since I already had two shades of green Super Saver yarn and a mini LED light set, it was the perfect project!
This idea started from this ugly knitted tree we saw at Target. I thought I could make a better tree decoration than that!

A quick look around the internet for yarn trees got some "interesting" alternatives. Sure you can just throw yarn onto a cone with some glue, but where's the skill in that?

Here's the one stop shopping list for the materials the lighted crochet tree (Walmart is cheaper for Super Saver yarn and foam core!):

Red Heart Super Saver Yarn Spring Green (I used glow worm but Amazon doesn't have that anymore)

Red Heart Super Saver Yarn Paddy Green

FloraCraft Packaged Styrofoam Cones, 12-Inch-by-4-Inch

20 Warm White Micro LED Battery Operated String Lights
For the pattern, I found that following the Petals to Picot pattern ended up flaring the cone to quickly as well as producing bent lines where the increases were. So after frogging half the project, I modified the pattern to something that fits better and is far more intuitive to keep track of.
- Using a size F, 3.75 mm crochet hook, create a magic ring with 4 sc.
- In each row, work 1sc into every stitch and 2sc into in a random stitch in the row. Each row will have exactly one stitch more than the previous row.
- Alternate yarn color randomly every 1 to 4 rows.
- After reaching a few inches in length, check the fit in the styrofoam cone (works best with the plastic wrap on).
- If the work starts to flare out, skip the increase on the next row. I found that I had to skip the increase about every 3rd or 4th row.
- Keep checking the fit every time you change yarn color, or every other row.
- Continue until the piece reaches the bottom of the cone.
For the bottom piece, crochet a simple circle using the same color at the bottom of the cone:
R1: 6sc in magic ring – 6To assemble, use a crochet hook to fish out the tiny LEDs from the inside. Stuff the tip of the cone with polyfill. Carefully fit in the styrofoam cone without dislodging the LEDs. I just kept the plastic wrap on the cone. Join the top and bottom pieces together by crocheting through both pieces with a slip stitch. Having the bottom fit exactly to the cone is one of my favorite parts!
R2: inc around – 12
R3: (sc, inc) around – 18
R4: (2sc, inc) around – 24
R5: (3sc, inc) around – 30
Continue adding rows with incremental sc's amounts until you reach the same diameter as the cone.

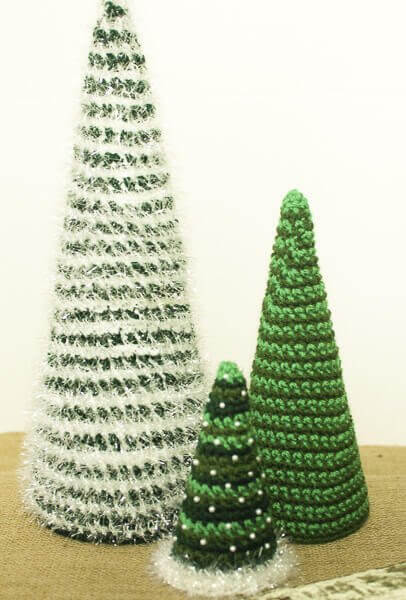
In the daytime, the lights are so small, you can barely see them.

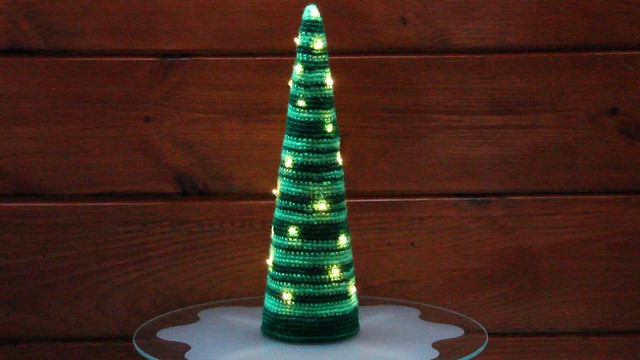
But in the evening, it becomes something magical!
No comments :
Post a Comment